
Final home assignment before we go out into the field to climb some hills. Previously we have been using modern GPS technology to position ourselves using latitude and longitude. Time now to take a look at the good old methods like compass and altimeter to identify our approx. location. We will be doing some hands-on with both in the next upcoming field assignment.
Details
Type: home assignment
Date: Mon 24th April
Deadline: Sat 29th Apr
Duration: 1-2 hours
Submit one set of answers per team
All team members to participate & understand
Magnetic Compass
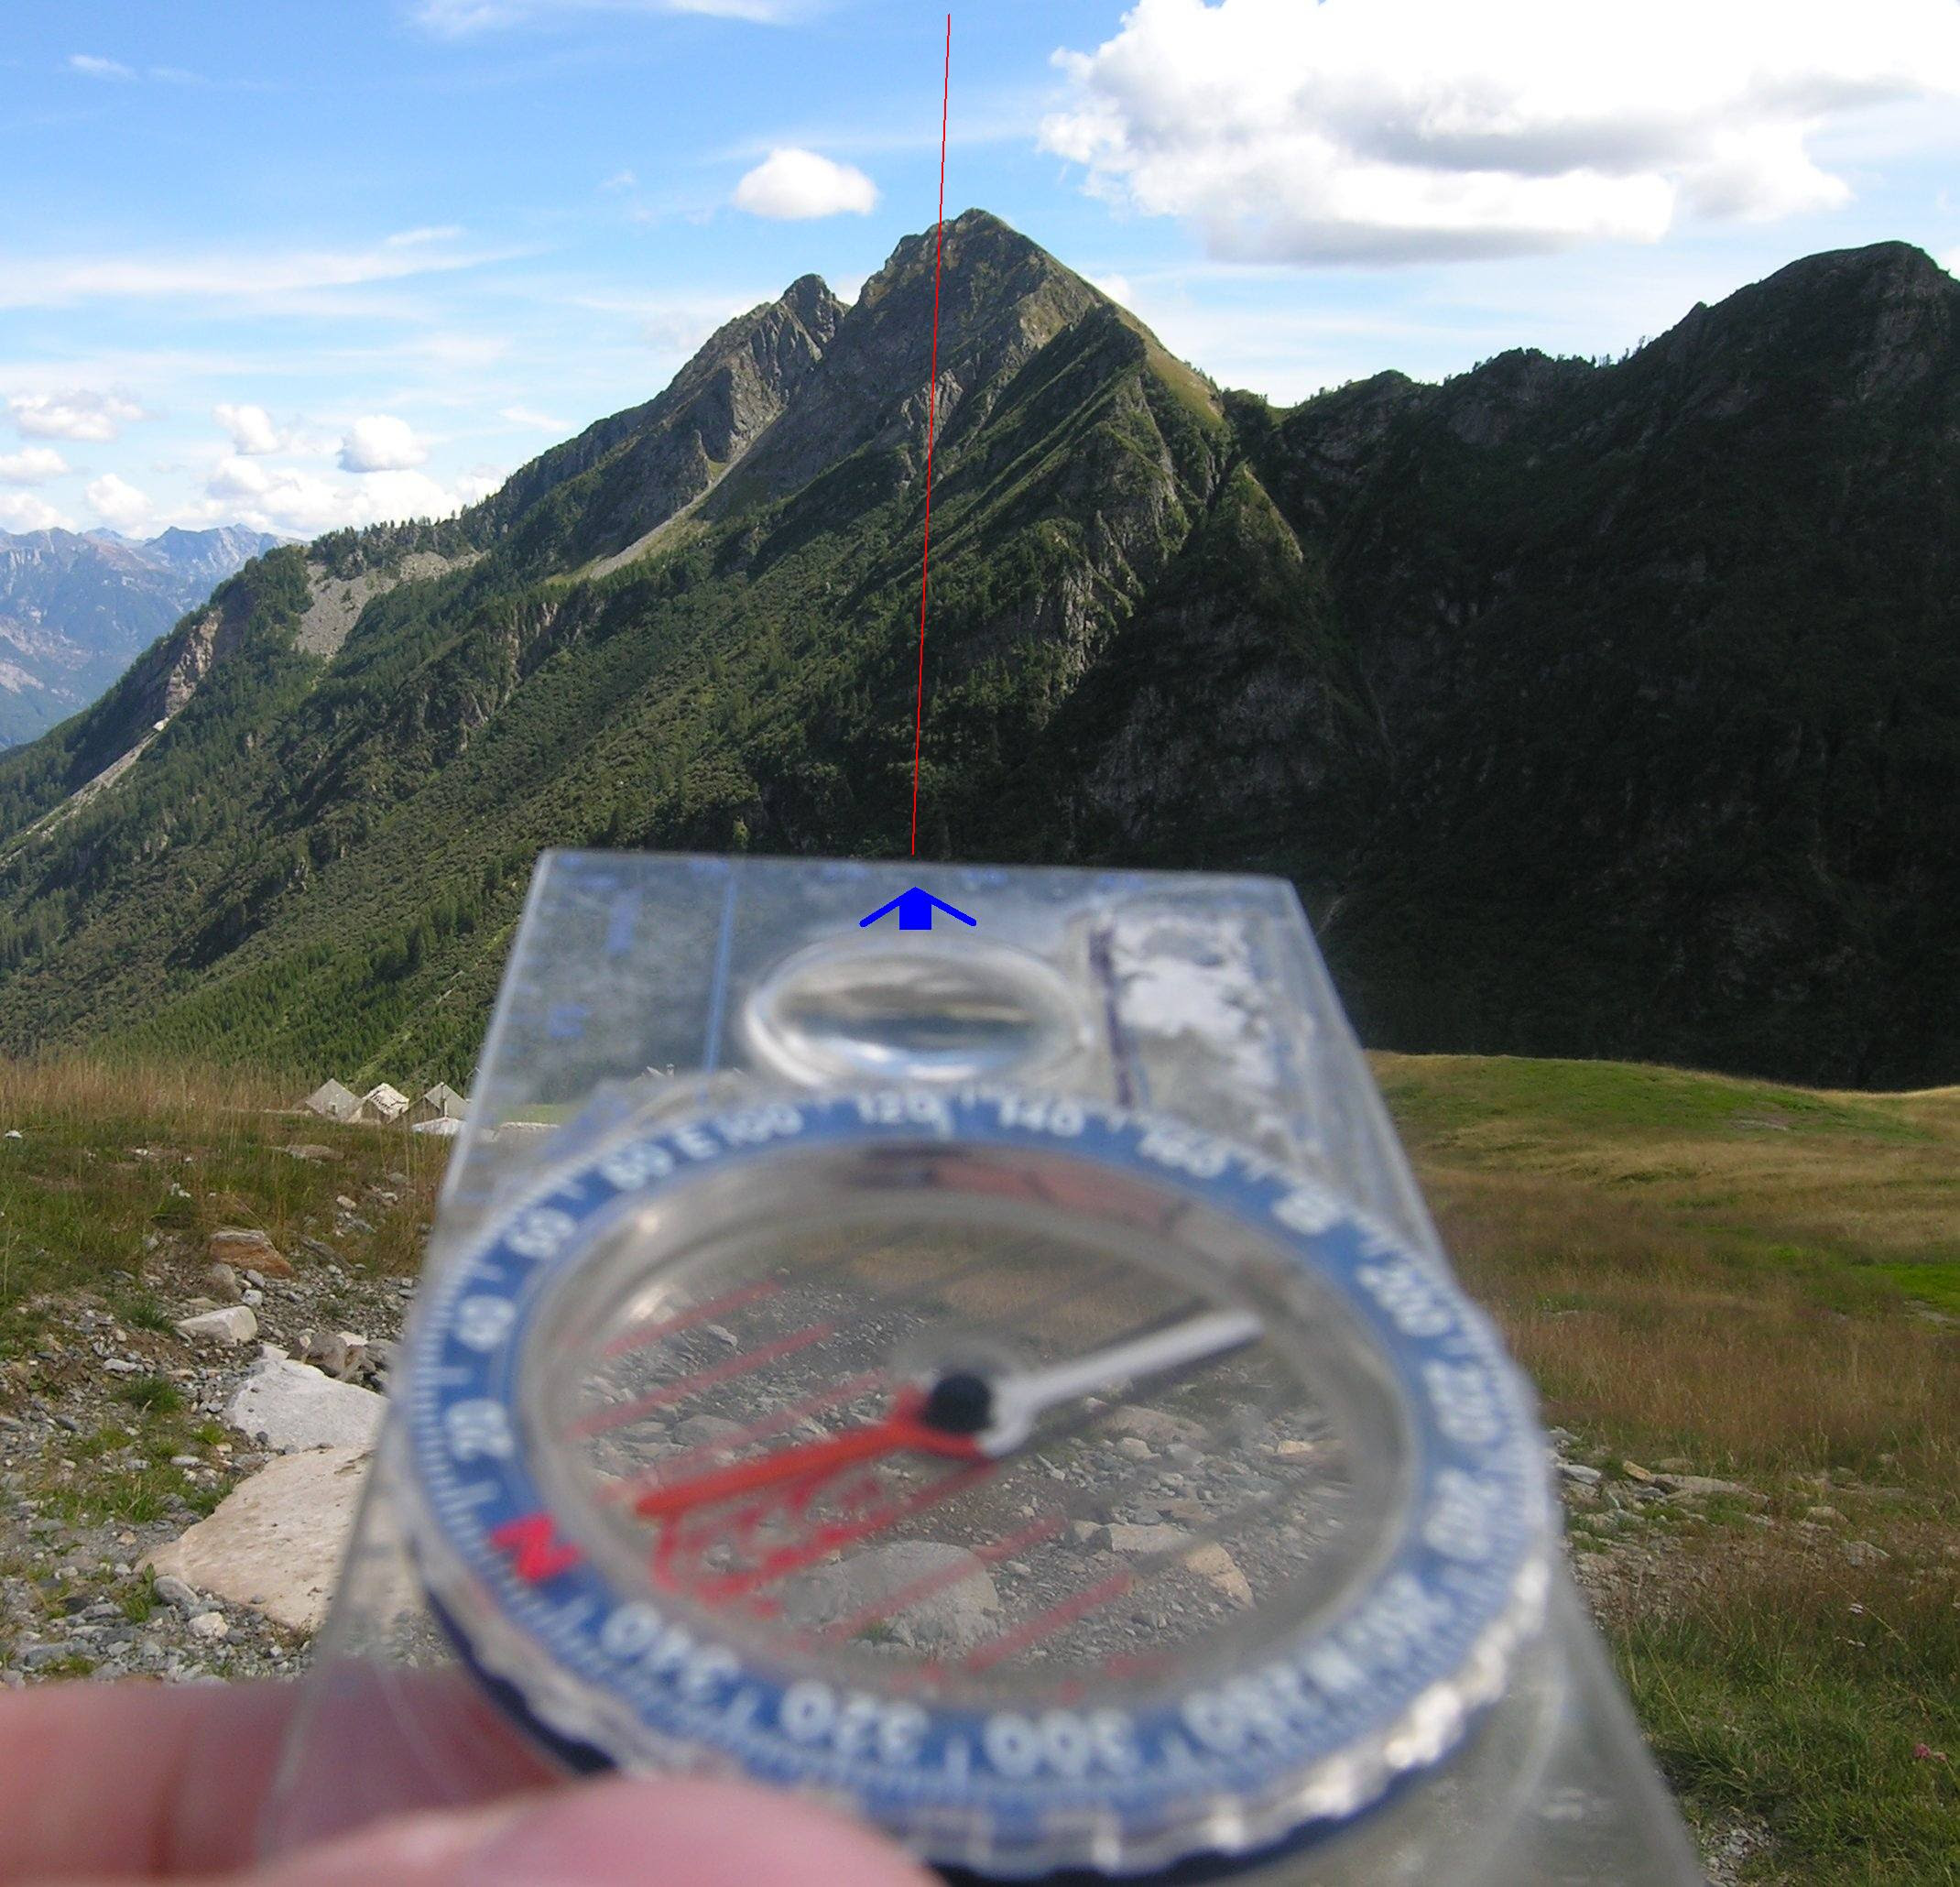
The compass is a useful tool for navigation and orientation in the field. It allows us to identify "direction" or "heading" or "bearing"
The needle of the compass points to the (magnetic) north which roughly corresponds to the top of the map (true north)

While holding the compass flat in the in your hand you can take the "bearing" or "heading" to any landmark visible in the field (e.g. tall building, peak....)
Taking a bearing to a landmark which is visible both in the field and identifiable on your map will assist us in find your approximate position on the map without the use of modern day GPS
Electronic Compass
In our field assignment we can use the Smartphone app "GPS Status" which has an electronic compass
Keeping your phone flat in your hand and pointing straight towards any landmark shows the "heading" towards that landmark:
(125 degrees in the example below)

Altimeter
Another useful tool for identifying your position on a map will be the altimeter which shows your current altitude or elevation
Many gadget watches come with an altimeter build in which is useful for navigation:
(Below watch shows an altitude of 2430 ft or 740 meters)

Bearing
Let's take a real-world example of bearing now. Open Google Maps and Create a new Map.
Say for example we are standing on top of the 200m tall peak near Chengalpattu (mark a waypoint on your map)
Southeast we can see a water tank at location: 12°40'26"N, 79°58'

Standing on the peak, we point our compass towards the above water tank visible in the field and take a bearing of approx. 126 degrees (Southeast)
On our map we can draw a line through the peak with an angle of 126 degrees and it will go straight through the water tank
Similarly we can draw a line through the water tank on the map with an angle of 126 + 180 = 306 degrees and it will go straight through the peak
So using the bearing taken in the field we can draw a line through the same landmark on the map and it will cut through our current location
To identify our exact location along this line we will of course need a second reference line, either a contour line or a heading to a second landmark
More on that below - for now just try to understand the concept of bearing as shown on the map below:

Positioning
Without the use of modern day GPS technology there are 4 easy ways to identify your current field position on a map using contour lines, altitude, bearing or a combination of these
Remember what we said above: you will always need 2 references to identify your position - each of the 4 methods below will use the intersection of 2 reference lines
For help on how to draw bearing lines on maps refer this tutorial.
Positioning through Altitude
Say for example we are climbing the central hill along the Southern ridge (black line)
The altimeter of our watch reads 120 meters
How can we now identify our current location on the topomap?
Simple: the intersection of the ridge line and the 120m contour line shows our approx. location:

Positioning through Bearing
Once again we are climbing the central hill along the Southern ridge (black line)
From our current position we use our compass to measure the bearing to the water tank which is 90 degrees (East)
How can we now identify our current location on the topomap?
Simple: intersection of the ridge line and the 90+180=270 degree bearing from the water tank

Positioning through Altitude and Bearing
Now let's step away from the ridge so we cannot longer use the ridge as a reference line on the map
Our Altimeter shows an elevation of 160 meters (which means we are somewhere along the 160m contour line)
Using our compass we take a bearing to the water tank of 108 degrees
How can we now identify our current location on the topomap?
Simple once again: intersection between the 160m contour line and the 108+180=288 degree bearing from the water tank:

Positioning through two Bearings
Again let's step away from the ridge so we cannot longer use the ridge as a reference line on the map
Using our compass we take a bearing to the water tank of 126 degrees
We identify another landmark which is visible both in the field and on the map:
A white apartment building in Chengalpattu at 12°41'21"N, 79°58'43"E

Using our compass we take a bearing to the apartment of 52 degrees
How can we now identify our current location on the topomap?
Simple yet again: intersection between both bearings: 126+180=306 degrees from water tank and 52+180=232 degrees from the apartment

Our current location is at the intersection of both lines (and appears to be the peak of the 200m center hill):

This assignment was all about using traditional methods of compass, bearing, altimeter and contours to identify your current location
For better accuracy in identifying your position ensure below:
- Use landmarks/reference points which are precise - avoid using larger areas (lakes, etc.)
- Use clearly defined / narrow ridges
- Your position is identified as the intersection between two reference lines: either combination of contour, ridge line or bearings. Avoid using a narrow angle between both reference lines - best accuracy is achieved if both intersect 90 degrees. Try at least between 60 to 120 degrees for good precision. For example: an angle of less then 45 degrees or more than 150 degrees will dramatically reduce accuracy of the intersection when working with compass in the field.
Self-assignment
Now let's try the same for a hill nearby your residence / city. Use the 4 above methods to identify 4 different positions on the hill
For each method upload the resulting map showing the intersection of both reference lines and submit a link to your map screenshot in this answer form
For help on how to draw bearings on maps refer a short tutorial over here.
After home assignments 4,5,6 you are ready to go for your next field assignment now applying all the things you learned in the real-world!
0 comments:
Post a Comment